How to Remove and Install the Drum on the E310dw / E514dw / E515dw / E515dn Dell Multifunction Printers
1. Turn off printer.
2. Open the front cover.
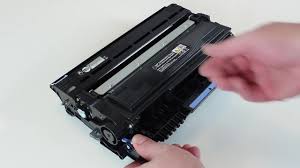
3. Remove the drum unit assembly and toner cartridge and place on a piece of paper.
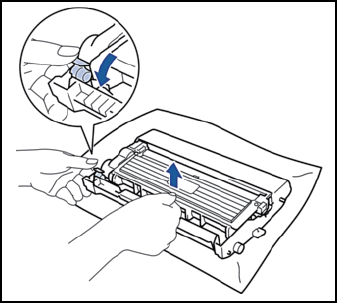
4. Push down the lever lock to release the toner cartridge and remove it from the drum unit.
5. Unpack the new drum unit.
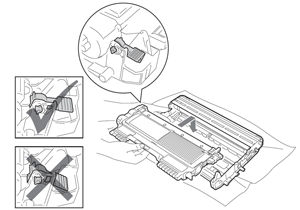
6. Insert toner cartridge firmly into the new drum unit, ensuring that it locks into place and the lever returns to the upright position.
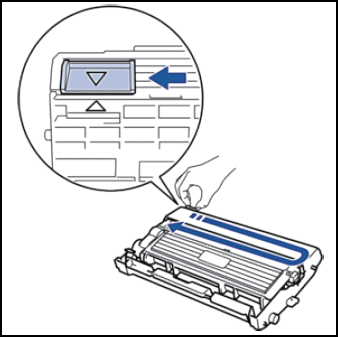
7. Clean the corona wire inside the drum unit by gently sliding from left to right several times, making certain to return it to the home spot and that the arrows are aligned.
8. Install drum unit assembly with toner cartridge back into the printer, ensuring it is seated securely.
9. Close front cover and power on machine.
10. After replacing the drum unit with a new one, you must reset the counter. To reset the counter:
a. Open the front cover
b. Press and hold down OK for 2 seconds
c. Press ▲or 1 to reset the drum counter